I received a Man Crate! So how do I open it?Updated a month ago
We know opening a wooden box can be challenging. Head over to Crate Opening Instruction for a detailed and thorough breakdown of the recommended process. If that page doesn't inspire you to achieve success, head on back over here and we'll walk you through it step-by-step.
Tips on opening your crate:
Congratulations on receiving a Man Crate. If you’re reading this, you’re probably anxious to get inside of the wooden box that is most likely sitting in front of you just begging to be pried open. Following the steps listed below will ensure your speedy success in completing your crate-opening mission.
First gather everything you’ll need, your crate, your Man Crates prybar, a hammer (optional), and all the strength and courage you can muster.
Note: our crates come in many shapes and sizes. For demonstration purposes we’ve used a cube shaped crate, but the basic anatomy and structure of all of our crates are the same.
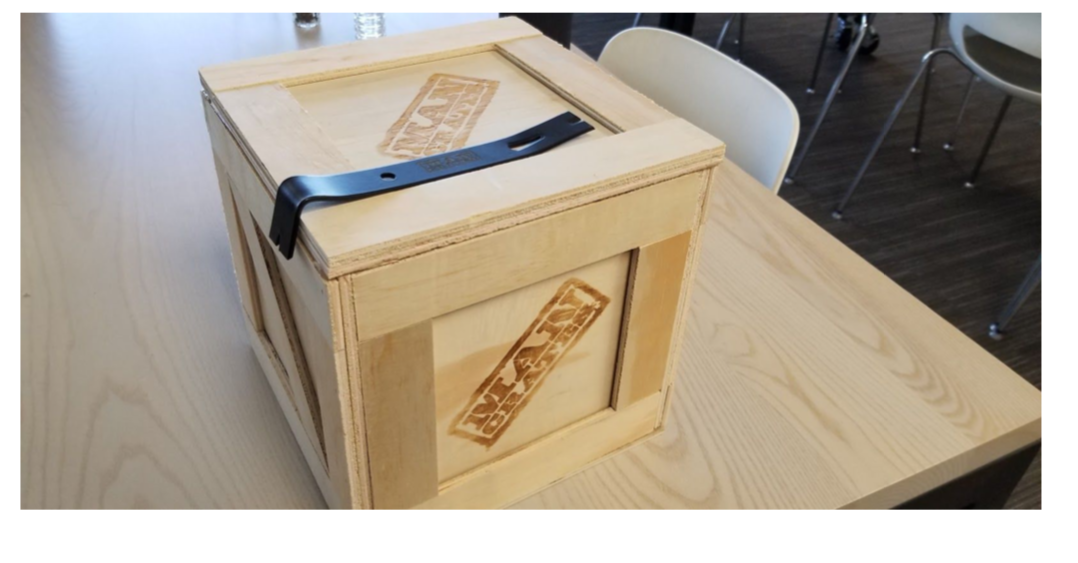
Start with your crate “right-side-up”. In the above picture the crate is “right-side-up”. With the lid facing the ceiling. You can tell you’re looking at the lid because it’s the only side of the box with a logo that’s opposite a flat thin panel with no logo (on the bottom of the crate).
Be sure you’ve got the crate on a sturdy surface, away from electronics and energy drinks. It’s important that you’ve put enough space between you and your valuables to get in some hard work. Hey, we never promised that this would be easy. Perhaps you’d prefer some “frustration free packaging”? Not today.
Now turn the crate so that it’s on its side. Please do so gently, just in case you’re the lucky recipient of our Live Wolverine Crate, you don’t wanna deal with one of those guys after they’ve been jostled around, trust us, we know from experience. Be sure that the lid is facing to your right or left, so that it’s in a similar position to the picture below:
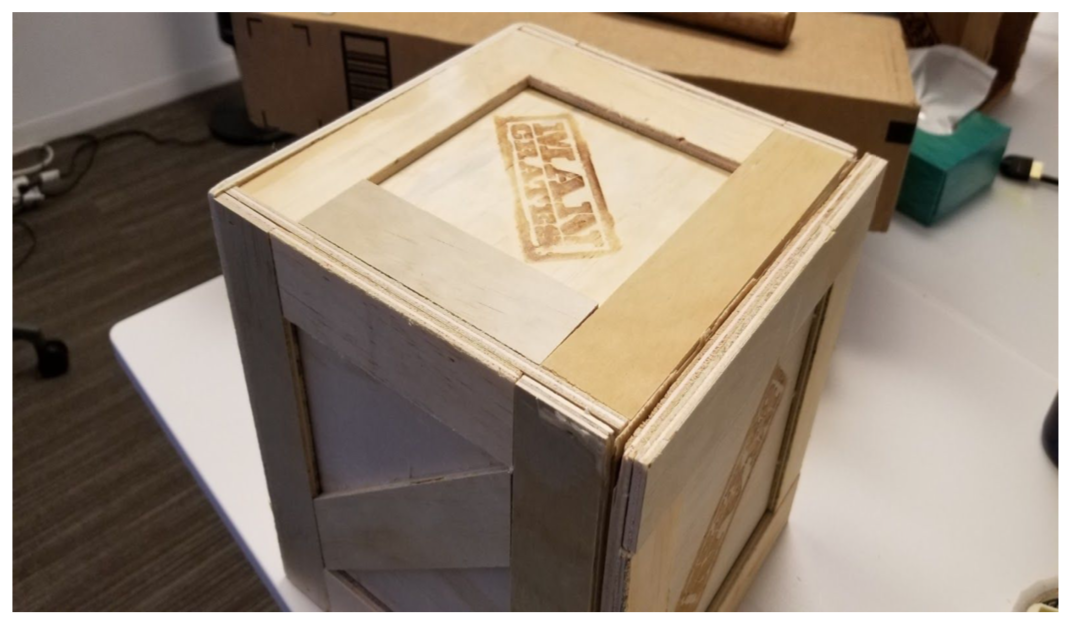
Now that you’ve got the crate turned on its side, you’ll want to identify the seam where the lid meets the crate, it’s where we glue the lid down onto the rest of the crate. This seam is your keyhole to the kingdom that awaits inside. For maximum opening efficiency we recommend you wedge the short end of the prybar between the lid and the body of the crate. We recommend going in near the corner to start, as shown in the photos below:
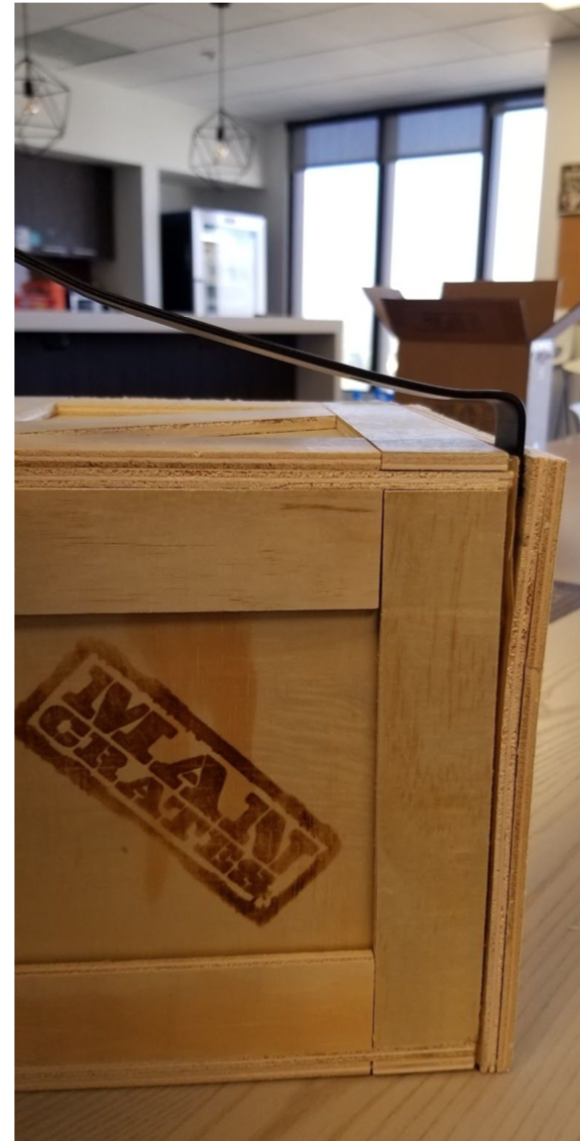
(You can even use a hammer to tap the small end in if you’re having trouble wedging the prybar into position)
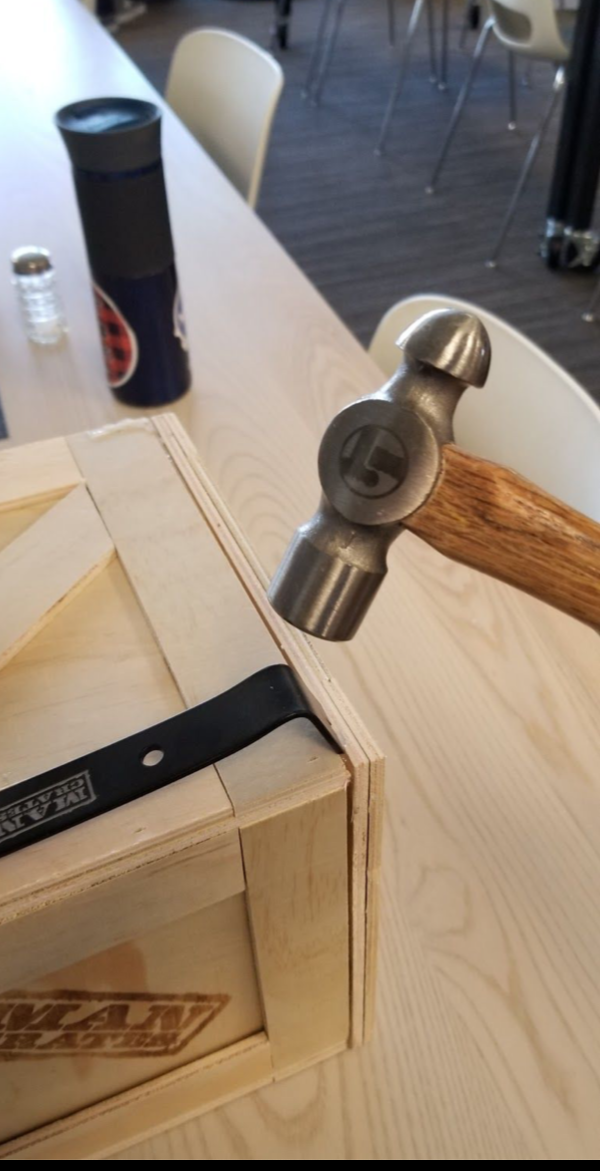
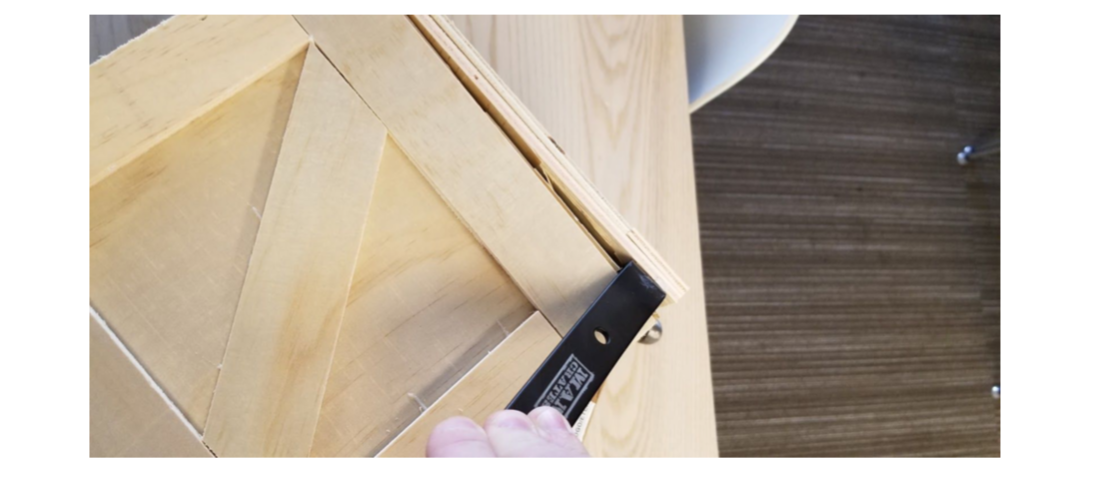
Now that you've wedged the prybar between the lid and the body of the crate pull the prybar up so that the short end pushes against the lid of the crate, you should now be noticing the lid separating from the body of the crate, if you get a little movement, you’re on the right track. Re-wedge the crowbar in a bit further down the seam and push up again, eventually you’ll pop that lid off (see the picture above for “proper prybar positioning”, say that 3 times fast).
Now, you should be home free! If you’re not, we have another angle you might want to try (don’t break out the dynamite just yet). Try finding the seam between the bottom “lid” and the body of the crate and using the instructions above, sometimes it is easier to go through the bottom, just make sure you’re mindful of the wood nails that we’ve used to seal the bottom onto the crate, they can be sharp!
You could also try bribing the neighbor kid from down the block to help you out, although we’ve heard he’s a pretty tough negotiator. We do not recommend using chainsaws, firearms, sledgehammers, or steamrollers to open your crate, that could get ugly.
If all else fails and you still are having trouble, feel free to give our team of experts a call, they’ll walk you through the process live on the phone. Our team of Customer Champions is available, email us at [email protected] or send us a chat.
Good luck, and keep trying to pry, the ends definitely justify the means. Now get to work, and when you’re done remember to stop and savor what is sure to be a victory well earned.